Friday 3 July 2015

Mid War Raiding - Italians vs Indians

Kieth dropped by today and wanted to try out his Italian raiding force!  He brought along 585 points of an Arditi Jeep Company with sporadic air.

  Fearless    Veteran  103a Compagnia Arditi Comionettisti (MW)
Arditi Jeep Company
Italian Mid-War
Mechanised Company
PlatoonQtyUnitPoints
Combat Platoons
Arditi Camionettisti Platoon p.150
1
3
1
2
1
1
AS42 Sahariana with extra AA MG
AS42 da 20/65 with AA MG
AS37 da 20/65 with AA MG
AS42 da Solothurn
AS42 da 47/32 with AA MG
AS37 da 47/32 (late) with AA MG
495
Support Platoons
Air Support p.149
3Sporadic Air Support FIAT CR.42 Falco90
Company Points:585

www.EasyArmy.comSource document: Burning Empires

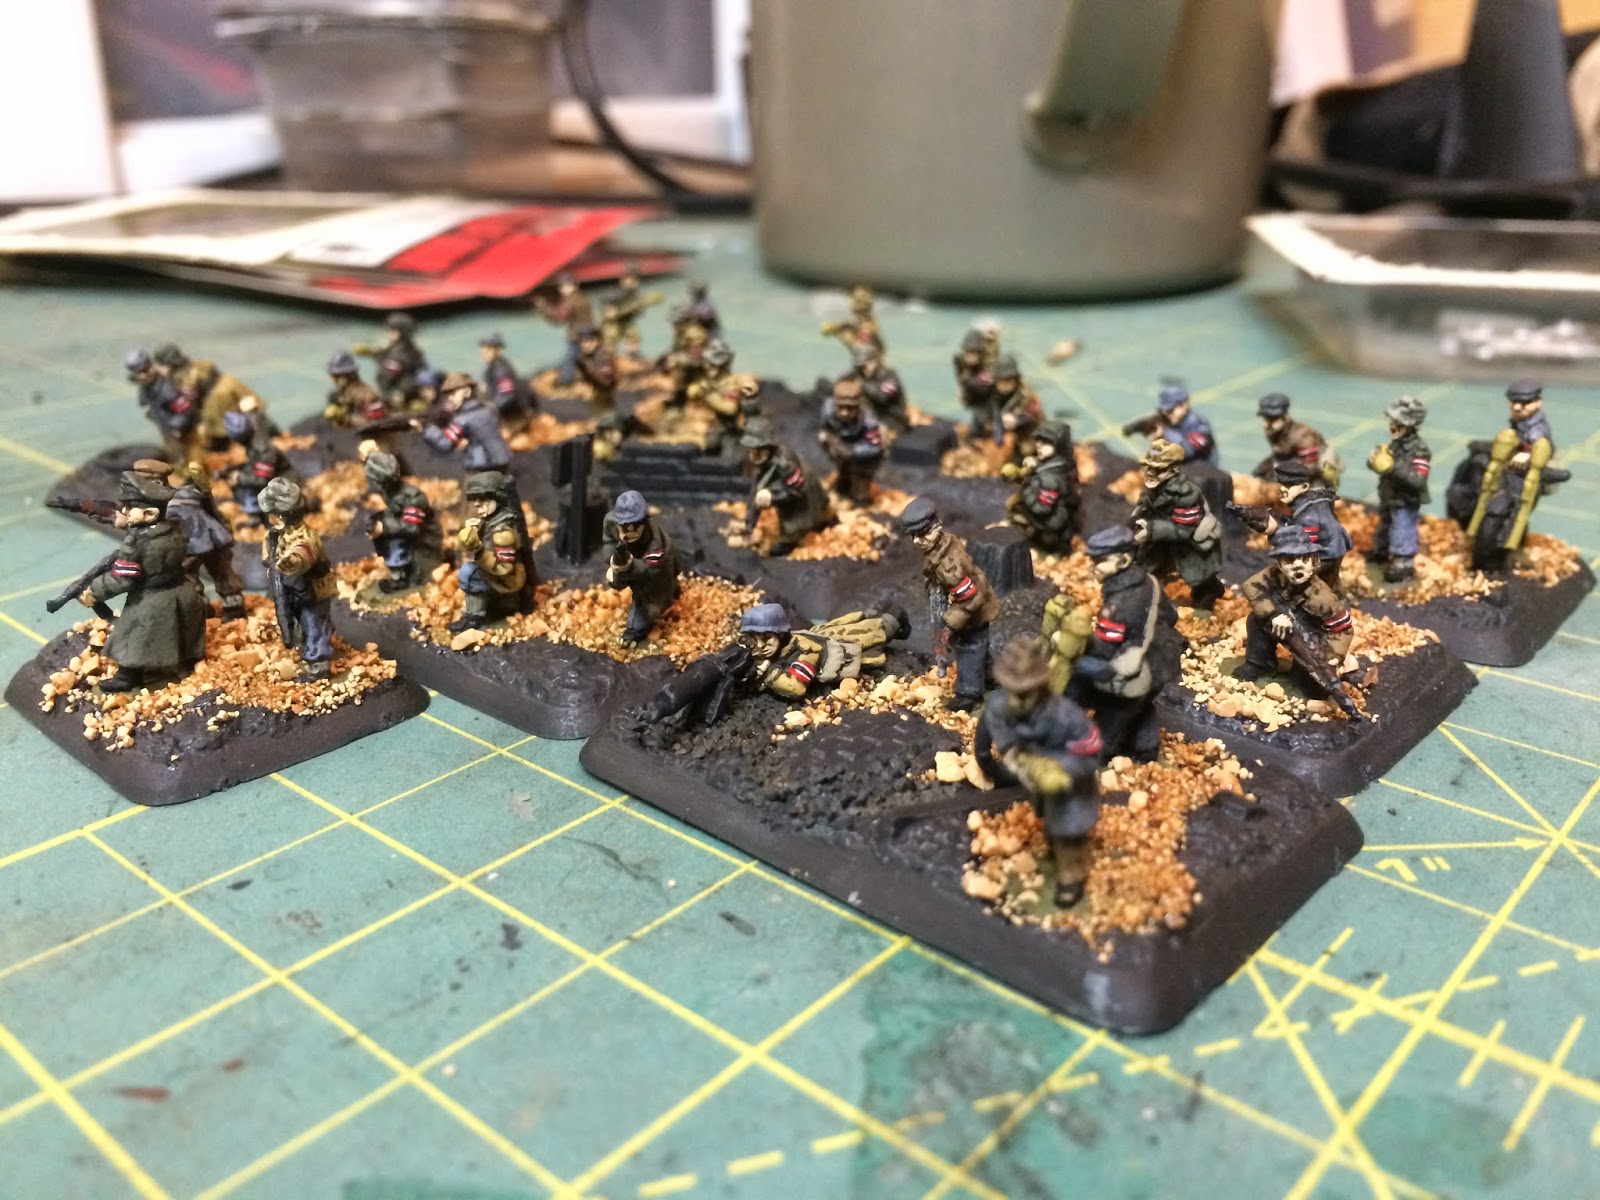
I fielded 1150 points of an Indian Rifle CO with 1st Army support.

  Fearless    Veteran  Rifle Company (Indian) (Tunisia)
British Mid-War
Infantry Company
PlatoonQtyUnitPoints
Headquarters
Rifle Company HQ (Indian) (Tunisia) p.171
2
1
Cmd Rifle team
Troop Carrier
40
Combat Platoons
Rifle Platoon (Indian) p.171
1
1
1
6
1
Cmd Rifle/MG team
Light Mortar team
Anti-tank Rifle team
Rifle/MG team
Entire platoon turned into Gurkha Rifle Platoon
235
Rifle Platoon (Indian) p.171
1
1
1
6
Cmd Rifle/MG team
Light Mortar team
Anti-tank Rifle team
Rifle/MG team
225
Weapons Platoon
Carrier Platoon (Indian) p.172
3Indian Pattern Carrier with extra hull-mounted MG115
Anti-tank Platoon (Indian) p.173
1
1
2
Cmd Rifle team
Jeep
6 pdr portee
110
Brigade Support Platoons
Transport Section (1st Army) Confident  Trained   p.175
43-ton lorry15
Divisional Support
Infantry Tank Platoon (1st Army) Confident  Trained   p.165
3Churchill III410
Company Points:1150

www.EasyArmy.comSource document: North Africa

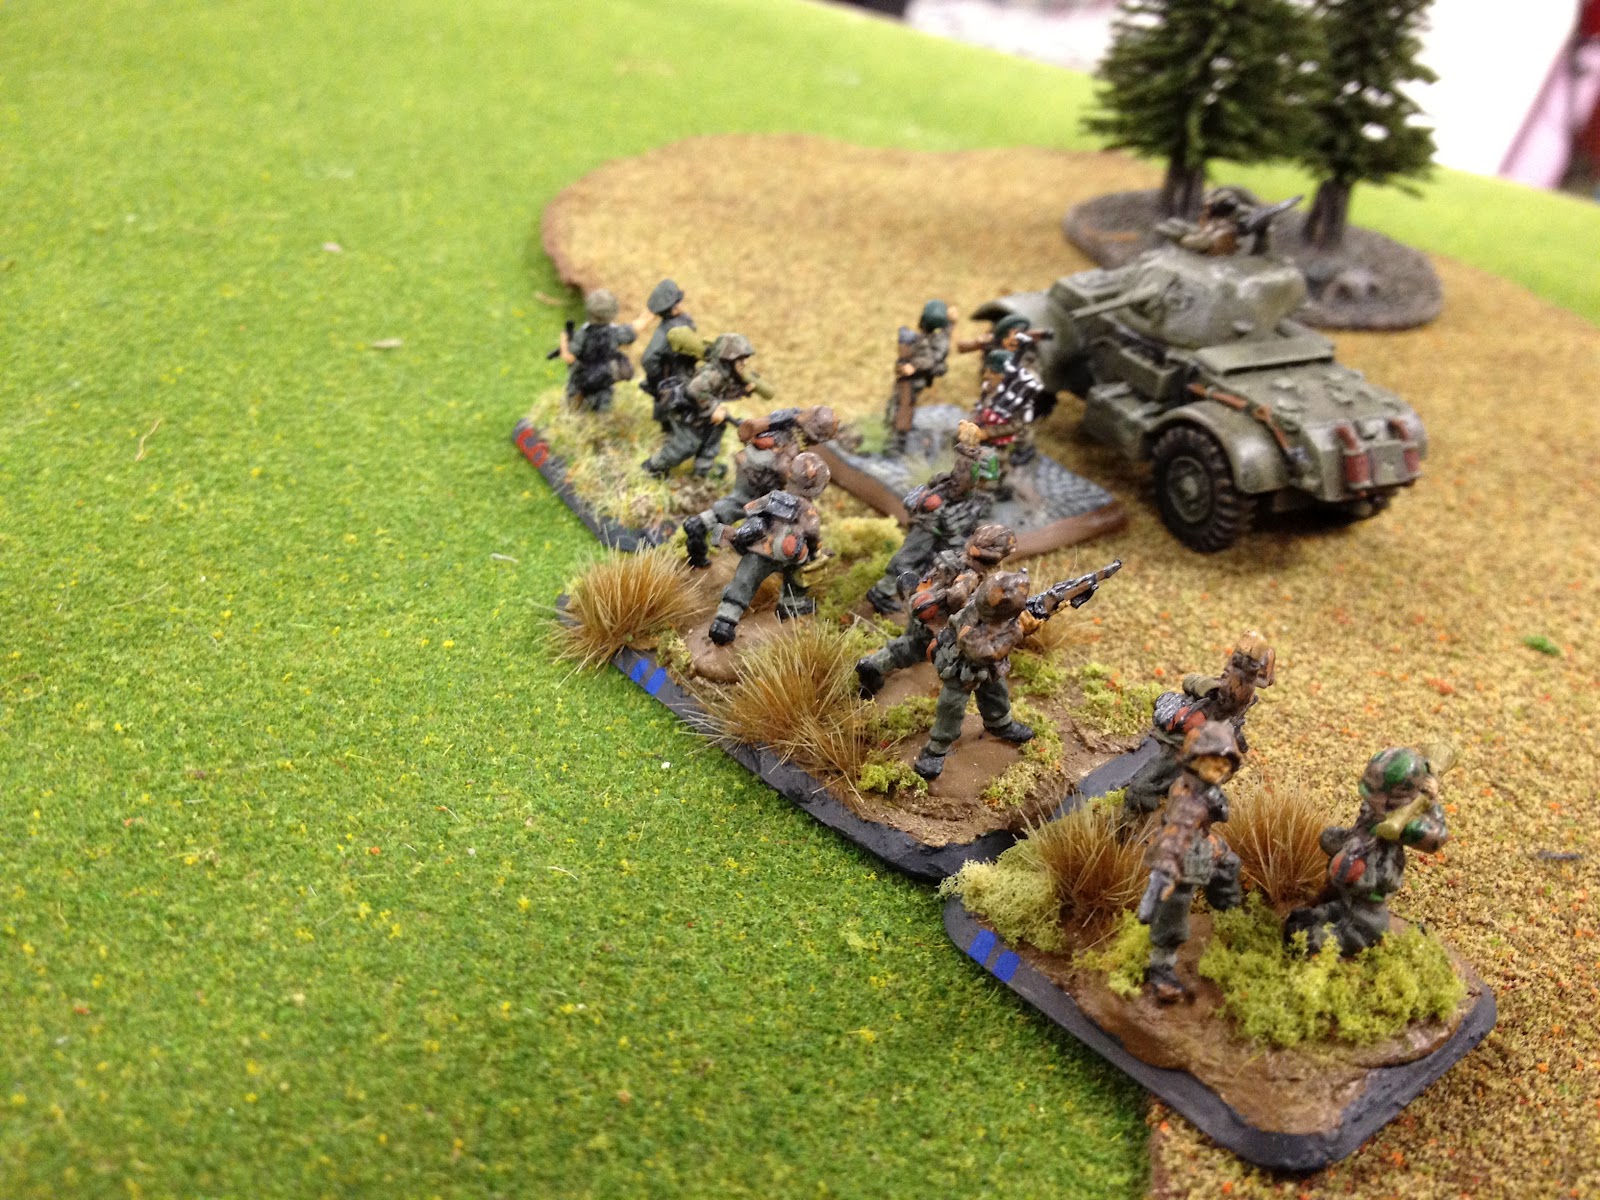
I really enjoy both "The Convoy" and "Get The General" missions.  We decided on Get the General.  I choose to have my Ghurka's as far foward as possible near the town and the Pattern Carriers in close escort with the staff vehicles x5.  The rest of the defending force is in scattered reserves.
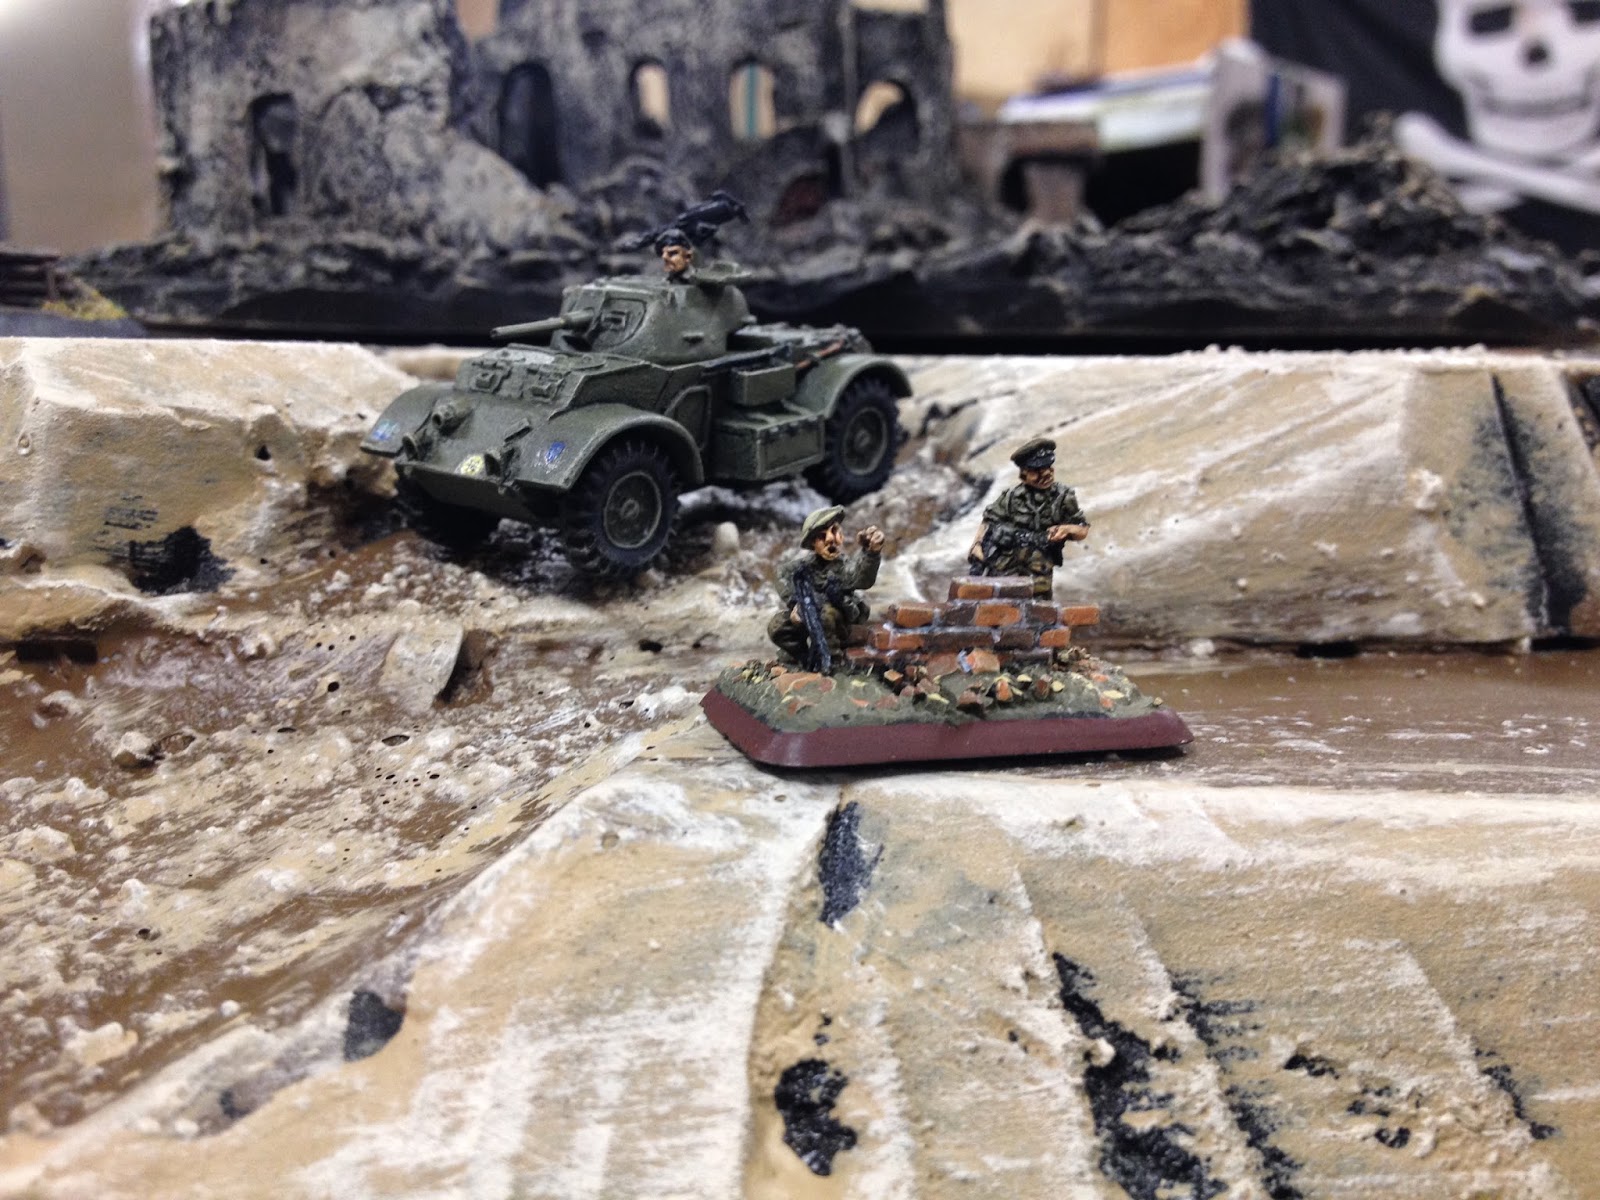
Keith's Italian raiding force starts with one platoon swooping around the town and the other in Ambush!  My pattern carriers make a recce deployement move to try and protect the staff vehicles. 

 The Ghurkas are dug in protecting the centre area that the convoy will pass through shortly.

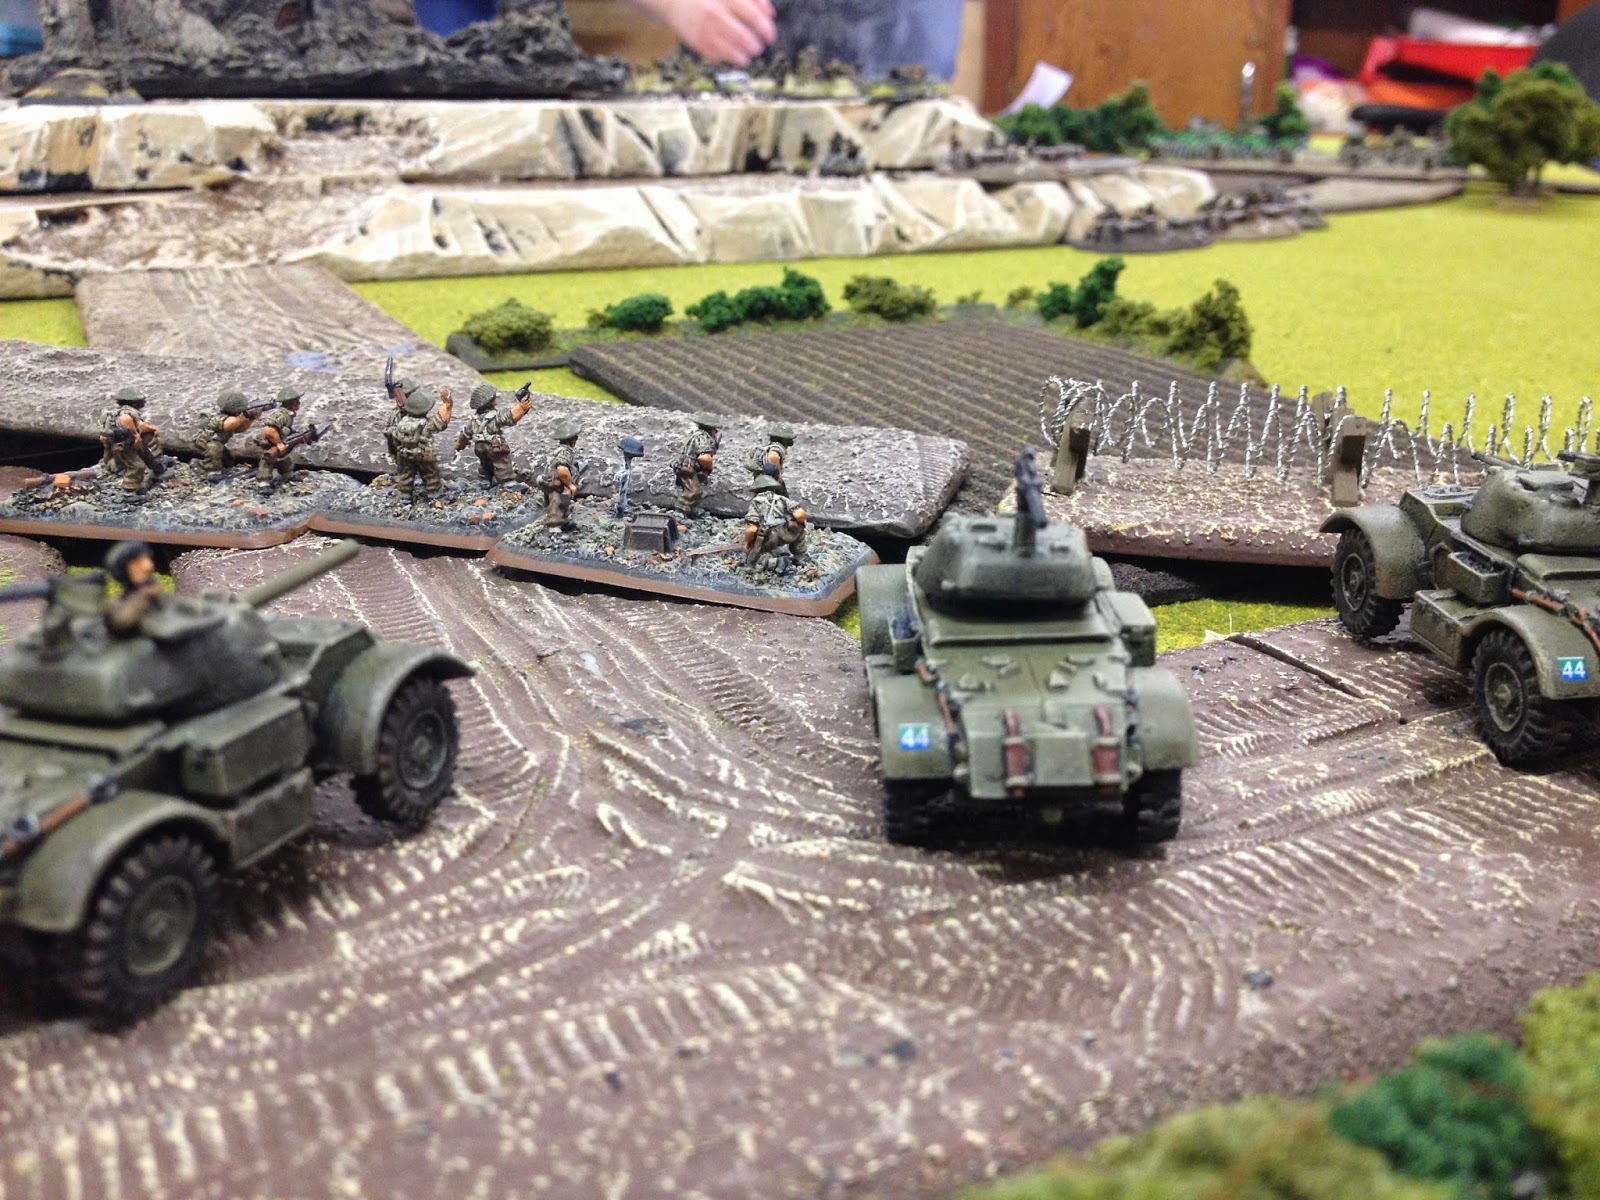
 Keith moves into position preparing to bring all his guns to bear.

The convoy carrying the General spots the Italian raiders and puts the pedal to the metal!

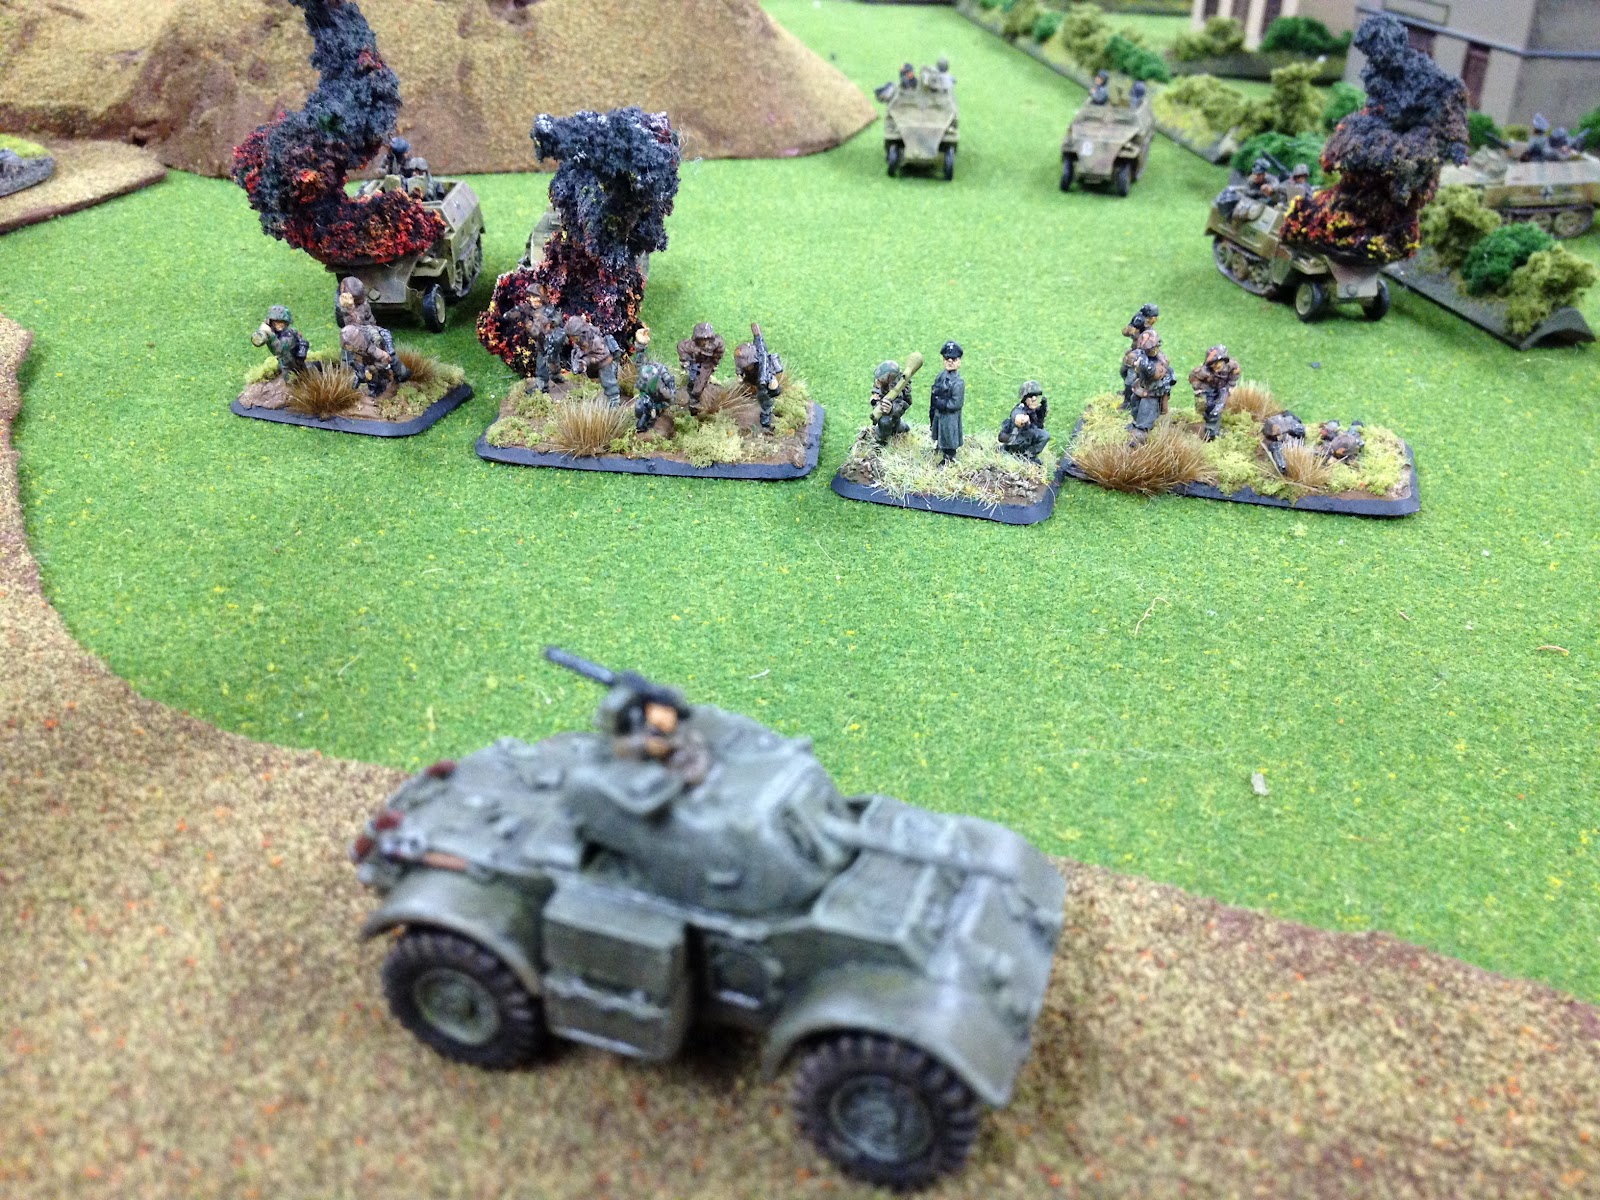
 Turn 2 Keith pops his ambush and lights up a couple trucks!  The road is now difficult going due to the pair of trucks on fire!  This will slow the Jeep rated staff vehicles down to 4" move for a turn.

  Behind the convoy keith is concentrating fire on the Indian pattern carrier escorts.  His MGs end up bailing one and destroying another!  Return fire takes down one raider.

Turn 3 the Indians get their 2pdr portees on the table.  And a lucky roll for scattered reserves places them right in firing range of the ambushing Italians.

 One kill!

Things are getting messy.  Keith relentlessly and mercilessly takes out the remaining carriers.  However the Indians are able to take out one more of the Raiders before being eliminated.
The Ghurkas start taking pot shots with AT rifle, mortar and any in range MG teams possible but are ineffective.  

Turn 4 the last remaining staff cars make it off the table to safety.  Keith now has 3 staff car objectives in his pocket.  He just has to escape with the platoon that did the killing in order to get an 4-3 minor victory. 
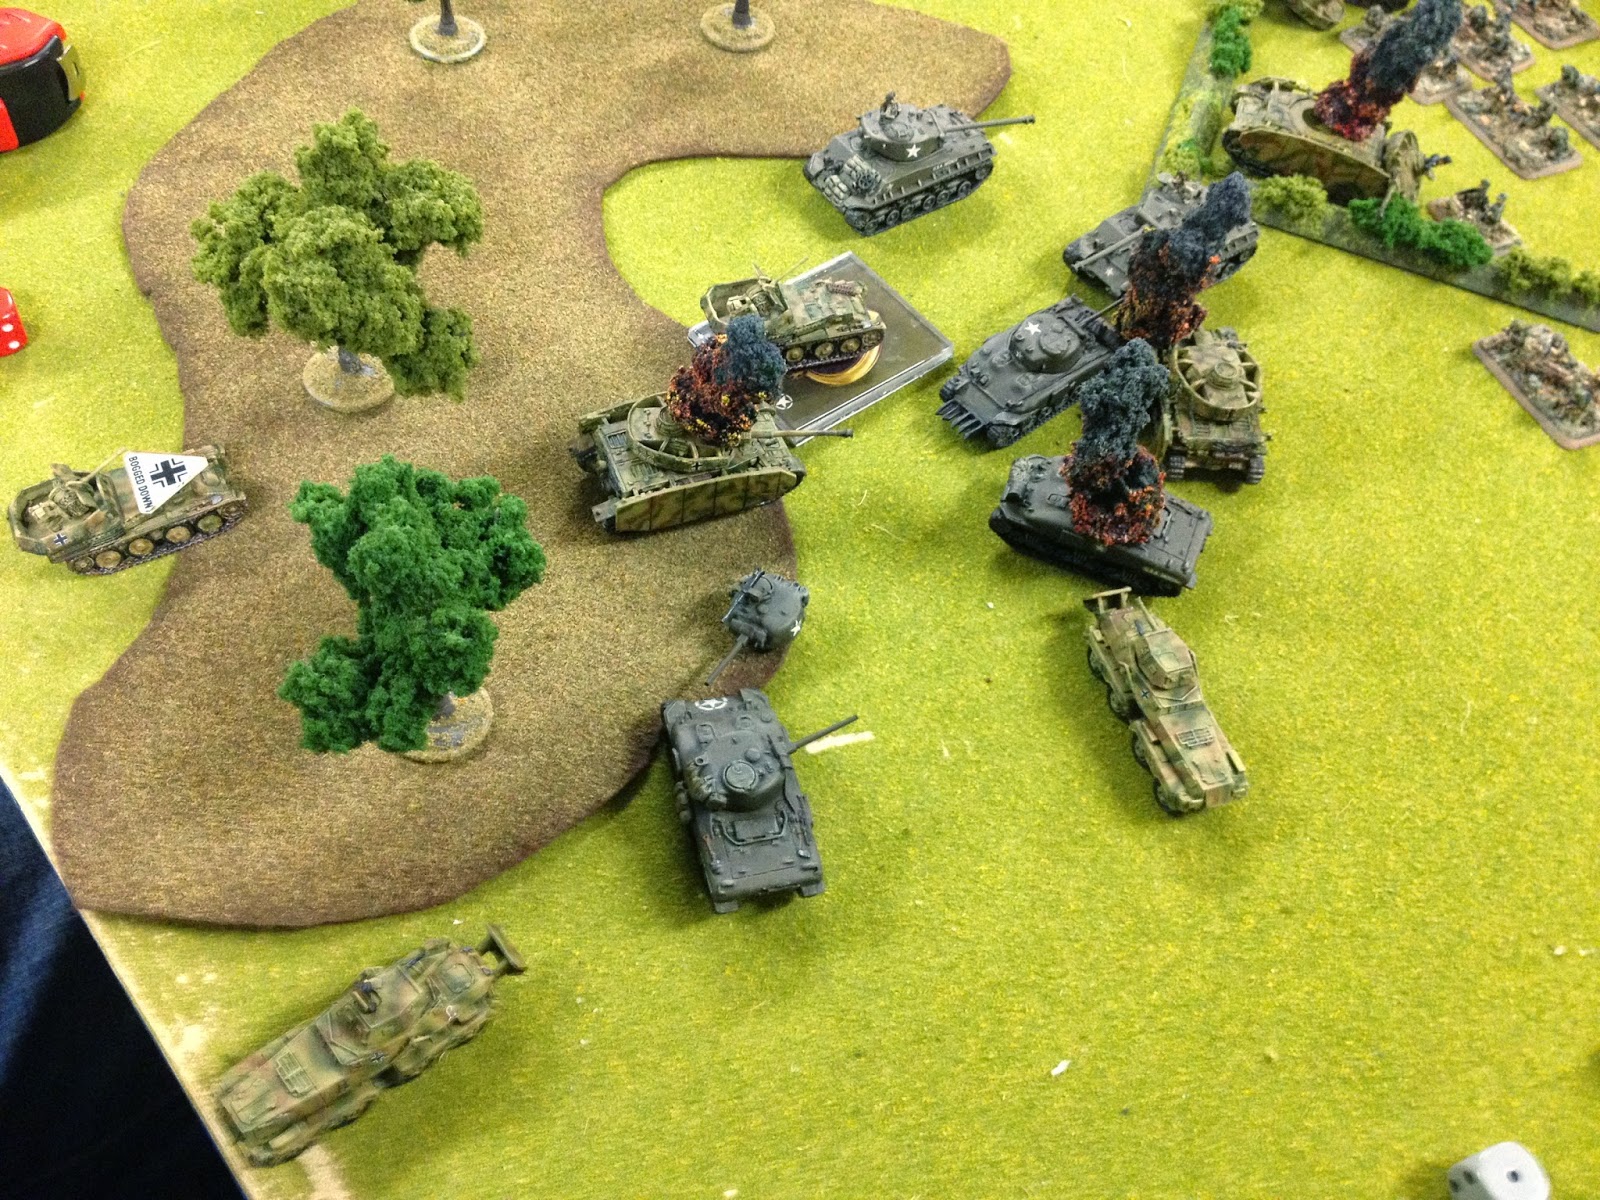
Burning vehicles.   

Turn 4 also saw the Indians receive reserves.  An Indian Rifle platoon and the churchills.  The Indians race to catch up to the escaping Italians.  I chose to keep them in their lorries!  Bad decision...  Keith opens up destroying over half the platoon in the process.  The survivors cower in the nearby palms.  Only the CO and 2IC remain charging forward. 

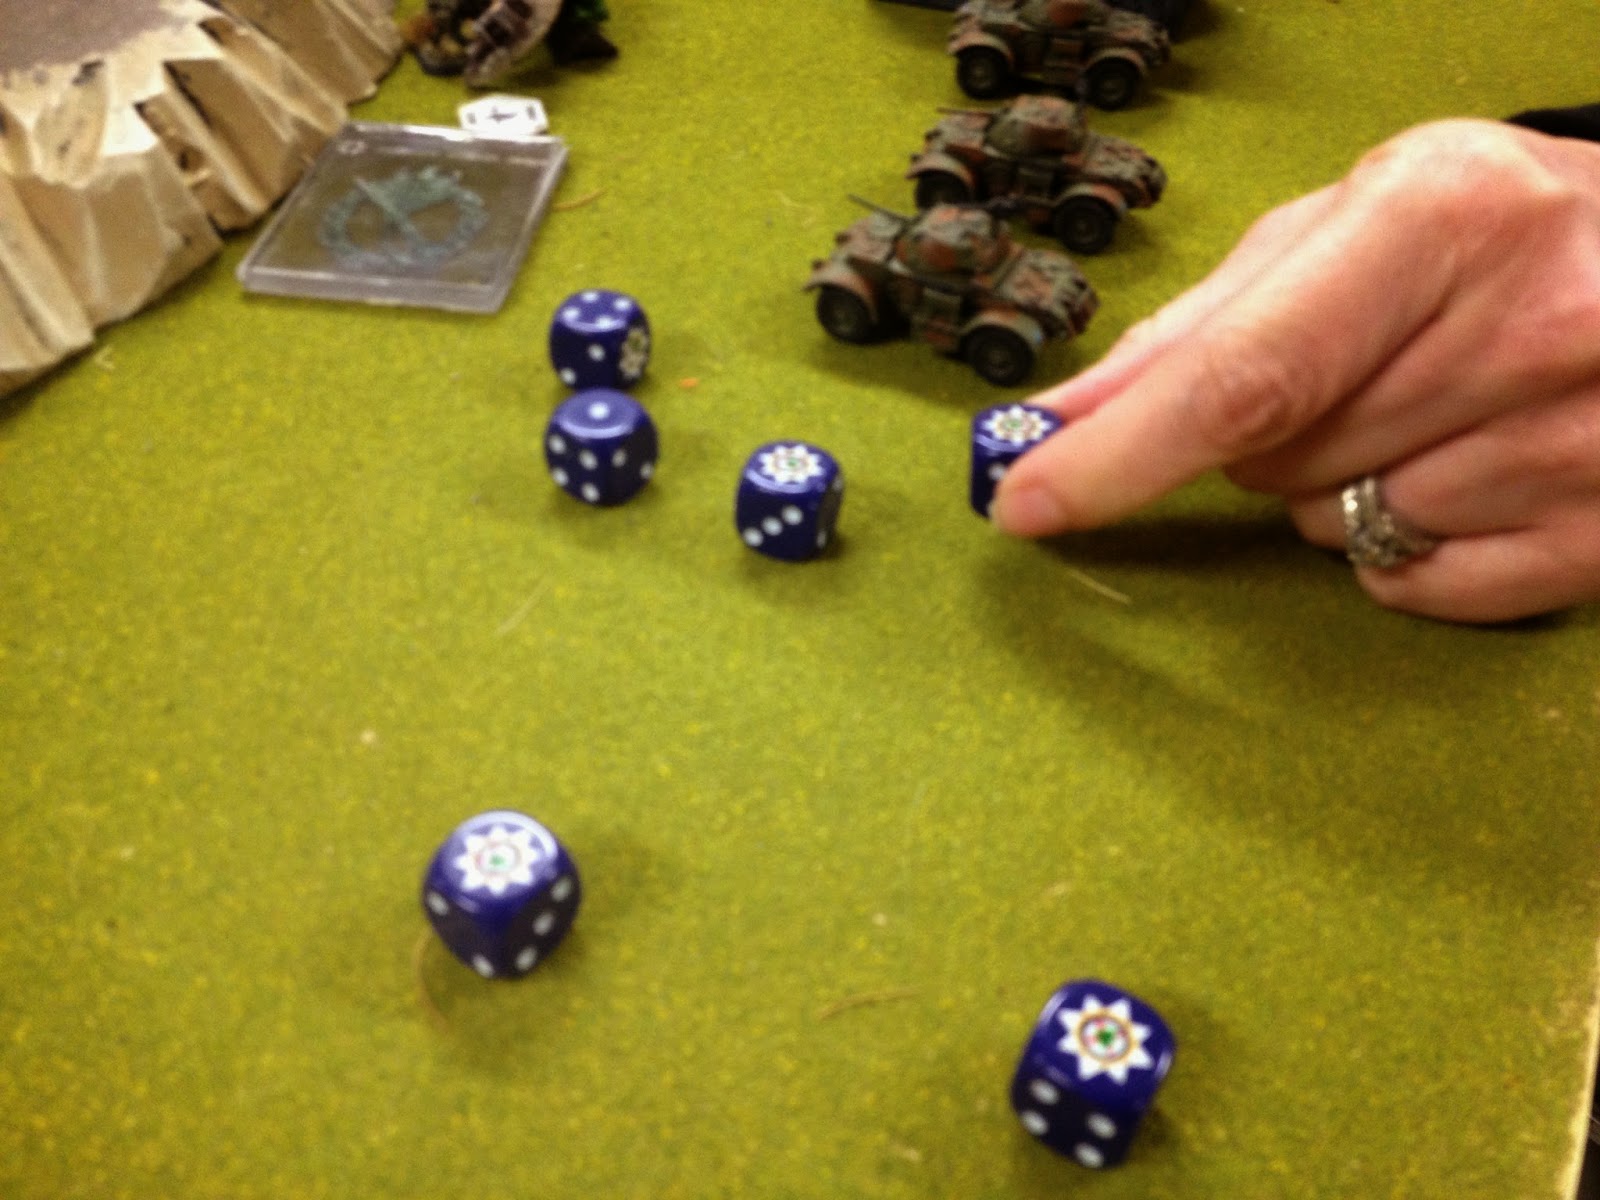
Its now or never for both sides as the Italians only have a short distance to go before making it to safety.  The churchills move forward and take ROF 1 shots hoping to connect.  In a huge stroke of luck for the Indians they manage to pull of the needed hits while keith expertly failed both saves. 

That brought the match to a close.  We both had a blast and like every raiding mission ive ever played this one could have gone either way.  Fast and fun right down to the wire!

Saturday 31 January 2015

Volkssturm

So I have been painting ALOT of stuff and neglecting to post it all up.  I will be trying to remedy that!  First of all since Bridge at Remagen came out I have really wanted to get my King Tigers on the table.  And there is no better way than using the Reluctant Veteran Schwere (506) out of said book.
 That being said I ordered up some Volkssturm.  Or as Steven from WWPD calls them "Blood bags."
 There was no way I was going to paint these bad ass old vets without basing them on rubble.  So that is what I set out to do!  Cool Eye patch Herr General!
 I painted everyone on golf tees before gluing them in place on the rubble.  I then used 3 different grades of basing grit from Gale Force 9.  First I sprinkle the Medium grit followed by fine.  Then lastly the super fine to fill in any holes.
 I figured that these guys would be fighting in the ruins of Berlin.  So the rubble should be grey pulverized stone.  Unlike Italy, which I tend to add in alot of Buff or Light browns.
 So I stuck with a base of German Camo Black brown followed by heavy drybrush of German grey.  Then London grey and finally sky grey highlights.  (Vallejo)
 I really wanted the dudes to pop and not be hidden by the basing.  I spent a ton of time making every figure unique.
 There are guys wearing Luftwaffe blue stuff, guys in full Nazi party tan.  Guys in regular wehrmacht kit.  Guys in a mismatch of every branch.
 FYI the painting guide in the back of Bridge at Remagen is great!
 Here you can see some of the upcoming projects I will post about in the back ground.
 Now some shots of the Volkssturm in action.  I picture them protecting the flanks of the KTs for as long as possible.
 The LMG "Downgrade"  is essential in my opinion.  It has ROF5.  And you will need it to pin incoming assaults.
 The old man.....  Literally,  this guy has an eye patch.  Hes hardcore!
 These guys are all Panzerfaust rifle teams.  Every other figure has one.  And a couple on bikes have 2!


Now I need to finish a 2nd platoon.  Ill be doing them up exactly the same.  Until next time!

Tuesday 23 December 2014

Staghound I Tactical Evaluation


Flames of war 044.JPG
Mechanised Ace Rupert Gile's exploits in Operation Sealion made him a legend in my household.
Ever since looking over lists to see which I would initially play when I jumped into Flames of War years ago, I have loved the British armoured cars. I played the Welsh Guards & 2nd Household Cavalry out of Hell's Highway the most and with the V3 rules, I still enjoy playing them from Market Garden. Throughout my games, I came to like the Staghound the most. Imagine my thrill to discover that I could field even more Staghounds when Road to Rome was released! Some of my most memorable games featured some daring feat from my Staghounds.

I can't extol their virtues enough.They are the true workhorse in any of my mobile forces lists and no turn finds them still: Eyes and Ears to make enemy infantry vulnernable and then mowing them down with tons of machine gun fire, racing for objectives, hunting armoured cars or flanking light tanks with their powerful main gun, distracting the enemy when necessary and disengaging for survivability, and using Cautious Movement to seek out concealed areas to make them a tougher target to hit. 

FACT SHEET


  • Name: Staghound T17 Armoured car 
  • Type: Reconnaissance armoured vehicle 
  • Armament: M3 75mm gun, Co-ax MG, Hull MG 
  • Maneuverability: Wheeled 
  • Armour: Minimal 3/1/0 
  • Max Speed: 18” 
  • Favoured Terrain: Roads, Cross Country 
  • Nationalities: England, and Commonwealth forces.


TACTICAL IMPLICATIONS

A striking symbol of British reconnaissance, the Staghound’s armament and recce capabilities make it one of the most versatile tools in my army. The Staghound is one of my premier attack vehicles. I play typically Confidant Veterans and use Staghounds as a vanguard of my main strike force to reduce primary defenses, distract the bulk of the enemy's firepower, or threaten objectives. With a 4 up to hit, keeping my staghounds in concealed terrain and at long range increases their survivability, giving them a 5 up to hit when concealed and a 6 up to hit at long range. In addition, if they are surprised by something they cannot take on, such as a front facing tank, they can disengage instead of firing. It' s not unheard of for my Staghounds to survive the entire length of a battle and ride off safely into the sunset.

Versus Infantry

Staghounds are able to bring a lot of machine gun fire to bear on infantry in the open. A typical platoon of three Staghounds brings 12 machine gun shots to the party, has enough armour to survive infantry machine gun fire, and is not pinned down by suppressive fire, using Eyes and Ears first to make enemy infantry more vulnerable if necessary.
sealion 022.JPG
Scrapping some German half-tracks and then speeding off into the sunset.

Versus Vehicles

The 75mm main gun is capable of taking out armoured cars and some types of tanks head on, but it really excels in sneaky flanking maneuvers.  The fully mobile turret ensures that the Staghound is covered by 360° armament, reducing enemy flanking abilities. Even Germans with their big cats have to think twice before advancing when Staghounds are on the prowl. A flanked panther can be destroyed on a roll of 1 and bailed on a roll of 2 by the Staghound's main gun.
Flames of war 022.JPG
Staghounds fearlessly roll up on a couple of Panzer IIIs, planning to veer off to flank the tanks.

Assaults

If I assault enemy infantry with staghounds, a side armor of 1 means that the Staghounds have some survivability from HMG defensive fire, reducing the chance of breaking the assault since the enemy needs two successful hits to break the assault off. The machine guns also offer great defensive fire for allied infantry being assaulted. 

Taking Objectives

Using the advantage of speed and cover, I can generally get to an objective rather early in a game. This is helpful for two different strategies a) holding the objective with a type of guerrilla warfare by disengaging and harassing any competition b) creating a sense of urgency with the enemy who will scramble to react while I direct another force to a different enemy objective. You can also use the versatility of a staghound to rather safely contest an objective.
Flames of war 043.JPG
Did I mention my staghounds also bring their own luck?
WEAKNESSES

The main weakness is the light armour, especially if the vehicle cannot disengage. The armour won’t stand up to most enemy tank fire, and it worthless against air support. I try to keep Staghounds close to forests and buildings to force the enemy to roll to range in.

Being wheeled is also a weakness. When encountering slow going terrain, having to drop down to 4 inch movement can be brutal. Many other recce vehicles are jeeps that can move much quicker. So the Staghound trades some speed to get heavier armour. They can use disengage and start of game recce moves to compensate some for the speed deficit.

The worst use of the Staghound is as the vanguard of a frontal assault mission against a fortified enemy position in a flat setting. Staghounds have limited to no value in defensive or garrison assignments as their major advantages can be reproduced with heavy tank fire in a more economical way.

Although these weaknesses are something to be mindful of, they are relatively small faults in my mind as I love the cost to versatility ratio.

sealion 025.JPG
Giles calls in his bagpiper to celebrate his There Can Be Only One triumph over the German Commanding Officer.

TERRAIN APPLICATIONS

The Staghound’s optimum deployment is on a road in an area with plenty of available cover, far from enemy forces and fortifications. Open areas and clear line of sight is a death knell to a Staghound. After initial straightway recce moves and 1st turn movement to get into place, stick to terrains with obstructions and concealment, as Staghounds will be able to fire more safely at targets or disengage as needed. and when that’s not an option, farmer’s fields can keep you concealed from ground forces

A column of Staghounds also work in urban environments since they they are highly maneuverable, they can use eyes and ears against entrenched enemies, and there is plenty of cover. They also present a small, compact target to the enemy and pack enough high explosives to take out infantry within the buildings.
Flames of war 025.JPG
Staghounds supporting an infantry team breaching emplacements before storming the objective at the top of the hill.

Conclusion

Despite its strengths, the Staghound’s armour is a physical limitation that make it a challenging weapon to use in certain situations. To countermand this, disengaging is a particularly helpful tool for saving these fragile vehicles and removing them from constricted situations where an enemy contingent could potentially ambush my typically unaccompanied Staghound platoon. Given the small cost associated with Staghounds, it’s easy to realize maximum value from their weapons and their CYA recce moves limit the risk of major losses. I have actually used my Staghounds as a a psychological weapon against infantry with a sheer machine gun power pinning and breaking an enemy infantry column.In areas where fortifications are not present, Staghounds can provide a mobile punch that can be used to harass enemy advances and objectives, but this is very much dependent on the circumstance and do not reflect the main role of the vehicle.

Staghound Love Transcends the Table Top

Just for kicks, here are a couple of photos of me visiting a Staghound in person at the Canadian War Museum in Ottawa in 2013 and 2014 (I'm a repeat offender). 

2013: Love at first sight.
2014: I'm going to hug him and squeeze him and keep him for my verrrry own.


Monday 16 June 2014

Italy Campaign by WWPD Mission #5

Two Armored forces collide in this show down outside Frosinone.


The German force consisting of 1250 points from the 26th PzKo.  Supported by Alwin Steinhauser and his fearless FJs.

The Allied force from the 1st Armored supported by Indian rifles and Brit 25pdrs.  (1250)

The mission is Pincer.  The Allies start as much as possible across the river obstacle. 

The Germans wait in the hedges with panzer IVs and FJs dug in the town between both objectives.

Immediately the superior technology of the Allies tanks shows.  Easy 8s with Smooth ride light up the German 2IC.

Indians charge to the hill and attempt to climb.  Most have difficulty getting up the steep slope even as mountainers.

The Alled CO and 2IC  use their Detroits finest to get right into the town and behind the german Co Commander.

German counter fire is pretty much ineffective only bailing one sherman.

The Allies again strike home.  The German CO bites the bullet.

Its then time for some payback.  The 2nd Panzer IV platoon which is in ambush decided to shoot!  Getting some revenge by taking out the Allies CO and 2IC!

Nearby Indians can only watch in horror....

As the Pz IVs decide they will take on them next.  Machine gun fire splatters almost half the platoon.

Meanwhile the fight for the objective on the North side is heating up.  The Allies use their high mobility to get in close and personal. 
Panzer IVs are popping like balloons filled with gas. 

Too late to help, German reserves arrive in the form of Recce 8 Rads.  All they can do is try to get on the objective and score some lucky side shots.  Remarkably they nail a Sherman!

At the same time 2 Flakpanzer 38ts arrive.  With the Same goal.  Get to the objective!

Major Alwin Steinhauser and his FJs charge from the houses.   They are the only hope for the Germans now.


The smoke from the tank battle is filling the sky.  Kills on both side.

Alwin decides its too risky to assault right now and has his men hold in the hedges. 

Artillery fire from the Brits starts to rain in on the FJs.  Several are killed in the open.


German Nebs arrive.  Too late to be of much use.

Alwin watches as the battle goes to hell.  
The 3 Panzer IVs on the south side have chased off the entire Indian platoon.  And now turn to reinforce the massive carnage at the objective.

They arrive and are immediately outgunned by waiting Easy 8s who make short work of them.

Alwin charges with the remnants of the FJs but its a charge too far.  And HQ calls for a retreat.  The Major reluctantly pulls back and concedes the field to the Allies.  (Having dropped below half strength and being unable to roll company morale without a CO or 2IC alive)

This scarp metal heap goes to the Allies!  4-3